
The elegant curve of a French tapered rolling pin, its smooth, polished wood whispering promises of perfectly even pastry, has captivated bakers for generations. This isn't just a kitchen tool; it's a testament to craftsmanship, a beautiful object that enhances both the process and the product. Creating your own from scratch, however, might seem daunting, but with the right techniques and a little patience, you can craft a rolling pin that's uniquely yours, a piece you’ll cherish for years to come. The rich aroma of freshly baked goods will be all the sweeter knowing you made the tool that helped create them.
This tutorial will guide you through each stage of woodturning a perfect French tapered rolling pin, from selecting the ideal wood to achieving that flawless, hand-polished finish. We'll cover essential techniques, safety precautions, and helpful tips to ensure a successful project. Ready to transform a piece of wood into a culinary masterpiece? Let's begin our step-by-step journey into the world of woodturning!
Preparation and Safety Guidelines
- Wood lathe
- Spindle roughing gouge
- Skew chisel
- Calipers
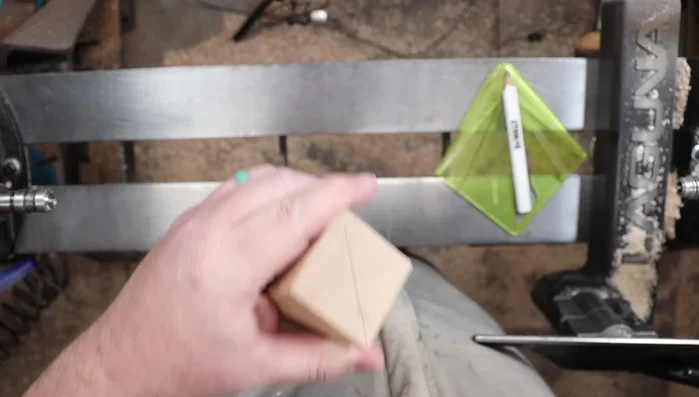
- Pencil
- Template (optional)
- Sandpaper (various grits)
- Pneumatic die grinder (optional)
- Wood oil and waxes
- Japanese pull saw
- Parting tool
- Brass rod for maker's mark
- Super glue
- Accelerator
- Woodturning is inherently dangerous. Always wear safety glasses and a dust mask. Long hair should be tied back.
- Use sharp tools and take your time. Rushing increases the risk of injury. Never force the tool.
- Ensure your lathe is securely fastened and properly balanced before starting. Check for any loose parts or damaged components.
Step-by-Step Instructions
Wood Selection and Preparation
- Select and prepare hardwood blank (approx. 5cm x 5cm x 48cm). Ensure it's food-safe, closed-grain hardwood like maple, cherry, or walnut.

Wood Selection and Preparation Rough Turning and Shaping
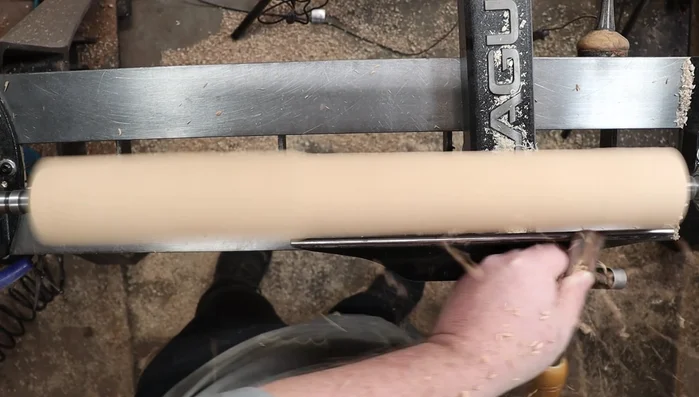
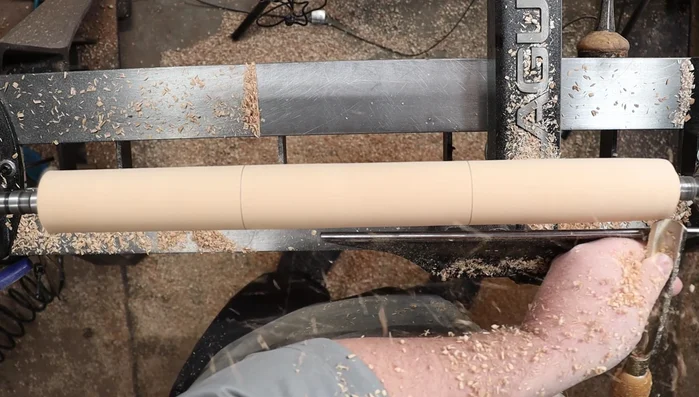
- Mount the blank on the lathe and rough turn it into a cylindrical dowel using a spindle roughing gouge.
- Check roundness with your hand and refine the dowel until perfectly round, using calipers to ensure consistency.
Rough Turning and Shaping Tenon Creation
- Create tenons at each end using a skew chisel and peeling cuts, ensuring consistent diameter (approx. 1 inch).
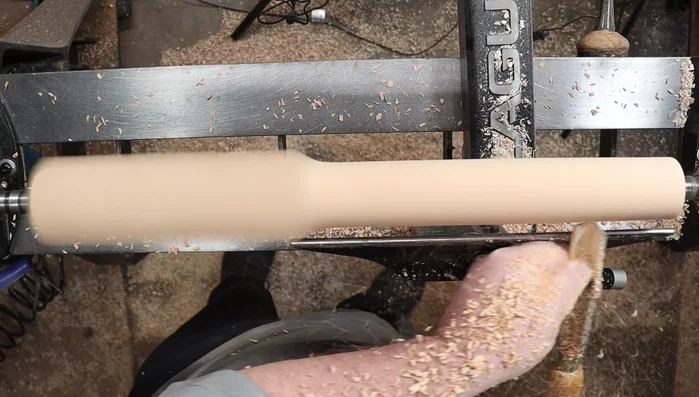
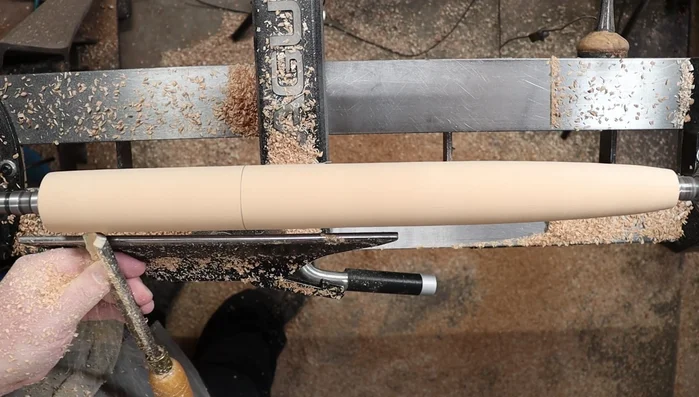
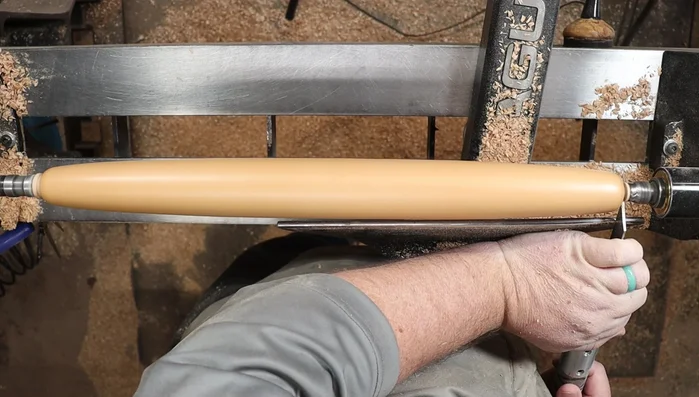
Tenon Creation Tapering
- Using a template or markings (6 inches from each end), create the taper on one side with a spindle roughing gouge, working from the outside in towards the marked line. Maintain consistency by adjusting handle height and keeping cuts shallow.
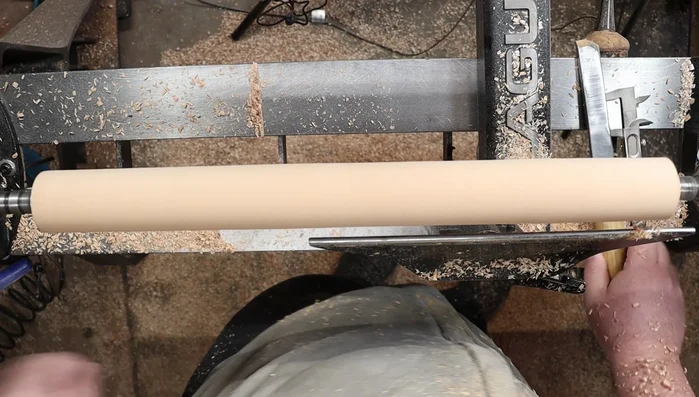
- Repeat the tapering process on the other side, mirroring the first side's taper.
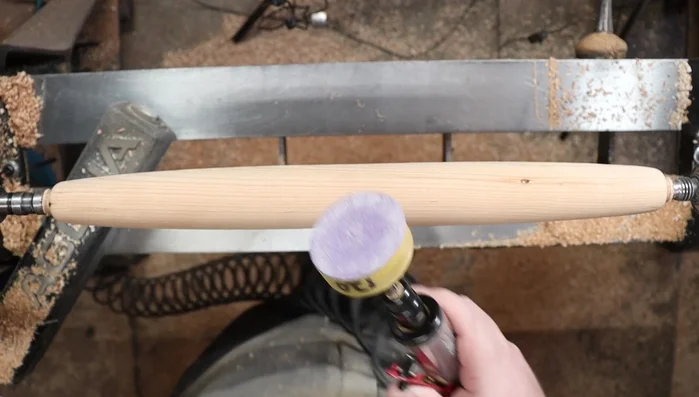
Tapering Sanding
- Sand the rolling pin using a pneumatic die grinder with sanding discs (optional, but highly recommended) starting with coarser grits (80-grit) and progressing to finer grits (up to 400-grit). This removes tool marks and produces a smooth surface.
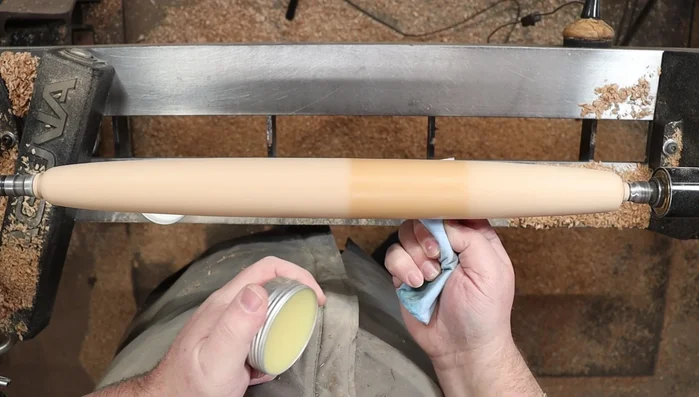
Sanding Finishing
- Apply multiple coats of wood oil and waxes, allowing each to soak in and dry.
Finishing Tenon Removal and End Finishing
- Use a parting tool to carefully score the tenons before removing them with a saw. Sand the ends smooth.
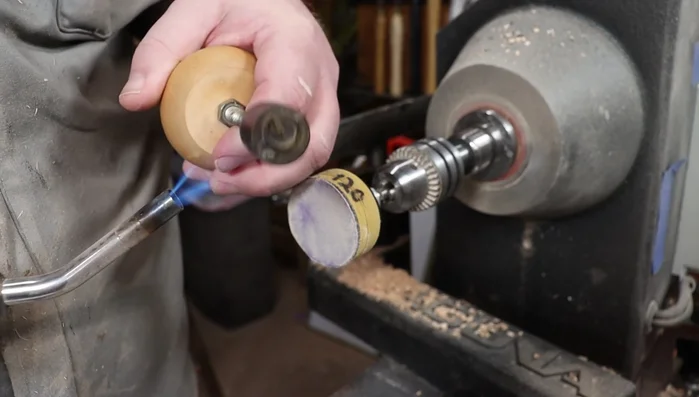
Tenon Removal and End Finishing Maker's Mark
- Apply maker's mark using a heated brass rod.
Maker's Mark Final Sanding and Polish
- Final sanding and finishing touch-ups are applied.
Final Sanding and Polish

Read more: DIY French Rolling Pin: A Beginner's Wood Lathe Project
Tips
- Choose a sustainably harvested, domestic hardwood for a durable and food-safe rolling pin.
- Use closed-grain wood to prevent food particles from getting trapped.
- Keep your eyes on the top of the wood while turning, not on the tool, for consistent results.
- Use your body to rock across the wood, keeping the tool angle consistent for a smooth taper.
- Sand thoroughly, starting with heavier grits and working up to finer grits for a smooth finish. Most of the work should be done with the coarser grits.