
This review delves into the performance of a Lloyd Pans pizza pan set, putting three different pans – a round cutter pan, a standard round pan, and a larger square Sicilian pan – to the test with three distinct pizzas. The author explores the pans' unique PTSK coating, touted for its non-stick and toxin-free properties, and assesses its effectiveness in the baking process. The review details the preparation of a bulk dough ferment, a crucial step for achieving optimal flavor and texture, and meticulously documents the baking experience for each pan, including topping choices and cooking times.Expect an in-depth comparison of the three pans, highlighting their individual strengths and weaknesses. The author shares insights into achieving perfectly cooked crusts, ease of pizza removal, and the overall baking experience for each pizza style. Ultimately, this review aims to provide a comprehensive assessment of the Lloyd Pans, offering readers valuable information to determine if this set is the right choice for their pizza-making endeavors.
Read more: The Ultimate Guide to the 6 Best Deep Dish Pizza Pans
Unboxing and Initial Impressions
I recently purchased a set of Lloyd pans, and I was eager to put them to the test. The pans arrived in standard Amazon packaging. Upon opening, I found three pans: a round cutter pan (the purpose of which I wasn't entirely sure), a standard round pan, and a larger, square Sicilian-style pan. All three pans appeared nice and shiny, though they did have some minor scratches, which I didn't anticipate impacting performance.

The pans boast a unique PTSK coating, described as stick-resistant and toxin-free, unlike regular non-stick coatings. It's a proprietary anodizing process with a liquid sealer. Previous experience with anodized pans has been less than ideal; they tend to stick unless parchment paper is used.
Bulk Dough Preparation
For this pizza-making extravaganza, I decided to make a bulk dough ferment. This is usually avoided due to the difficulty for smaller amounts, but the amount of dough I wanted to prepare was ideal for my stand mixer. I used Caputo semolina flour, which was clearly shown in the video, and followed the mixing instructions.

The dough was prepared several days in advance to allow for a thorough fermentation process; this is a crucial step to developing flavour and texture in the final product. This type of bulk preparation gives consistent result throughout the baking process.

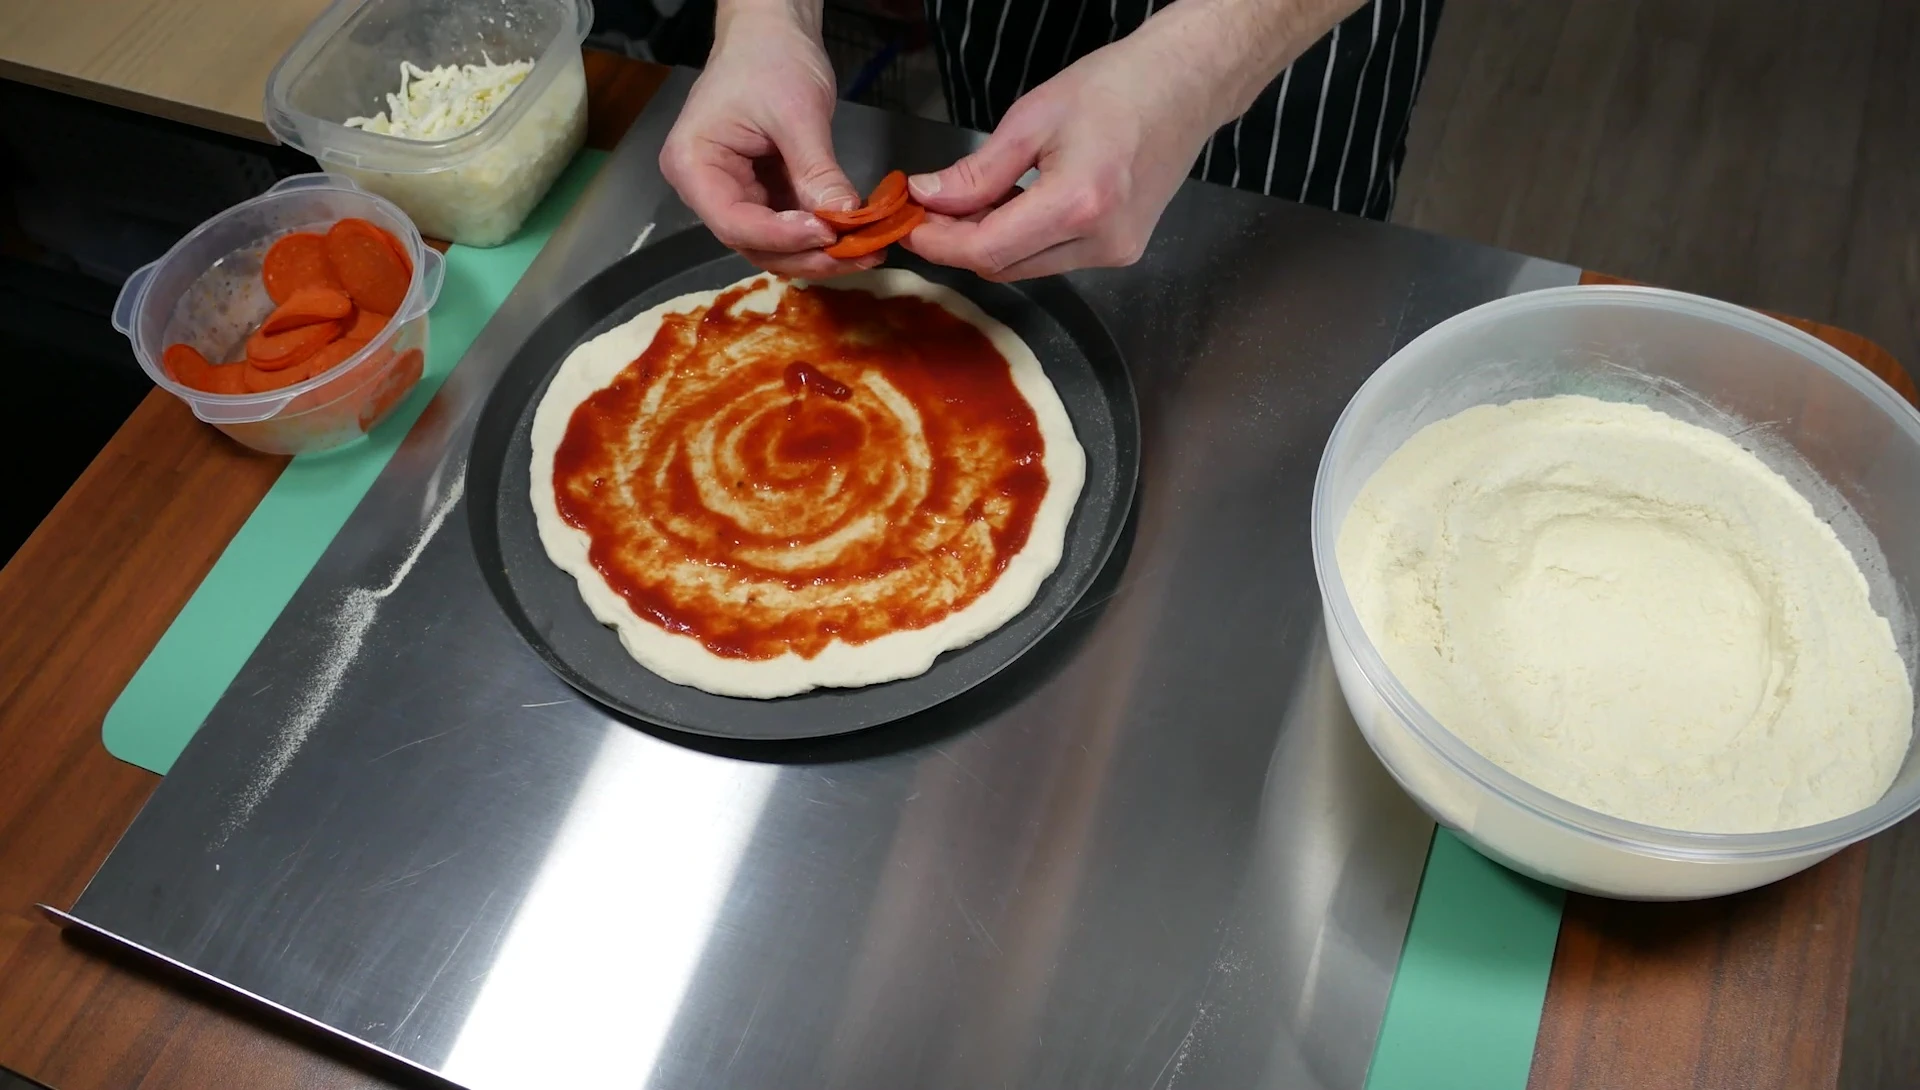
10x10 Inch Pan Pizza
First up, the 10x10 inch Sicilian pan. A 465-gram portion of dough was used, rolled out, and placed into the pan. After proving for a few hours, covered to prevent drying, it was time for toppings. My topping choices included Wednesday Monster cheese, provolone, and funky pepperoni. I prioritized a neat, symmetrical arrangement – personal preference, not a requirement.

The pizza was baked in an air fryer for 11 minutes. The pan released the pizza easily – a clear indicator of the non-stick performance of the Lloyd pan. The final result was a crispy-edged, delicious pizza. The ease of removal from the pan was a noteworthy aspect.

Round Cutter Pan Pizza
Next, I attempted a pizza in the round cutter pan. The same dough was used and flattened, mimicking the process for a pizza stone. However, the results were less than ideal; heat transfer was not as efficient. The bottom didn't cook as well as hoped, likely due to the pan material and its interaction with the heat source.
Toppings were applied similarly to the first pizza, but the uneven cooking on the bottom was quite noticeable. While still edible, this demonstrated the pan's limitations. The overall experience with this pan was less successful compared to the previous attempts.

10-Inch Round Pan Pizza
Finally, I made a pizza in the standard 10-inch round pan. This time, I added a layer of ricotta cheese to the bottom of the dough before adding the usual toppings. This was done out of a desire to utilize leftover ricotta. The topping and baking process was similar to the previous pizzas.

This final pizza turned out well, showcasing the versatility of the Lloyd pans. The 10-inch round pan seemed to be the most successful of the three, striking a balance between even cooking and ease of use. The addition of ricotta to the crust added an interesting layer of flavor to the pizza.

Conclusion and Overall Assessment
The Lloyd pans performed differently depending on the pan used and the style of pizza being made. The 10x10 inch and 10-inch round pans provided excellent results, with even cooking and easy release from the pan. The cutter pan, however, had some issues with heat distribution, resulting in unevenly cooked crusts.
Despite the varied performance, all pizzas were delicious. The unique PTSK coating mostly lived up to its promise, though caution should be taken to avoid overheating to prevent warping. The pans are overall worth trying for a consistent and easy baking process, and are great for baking different styles of pizzas.