
Oven stones, those wonderfully porous beauties responsible for perfectly crisp pizza crusts and evenly baked breads, can become surprisingly grimy over time. Stubborn grease, baked-on food particles, and lingering odors are common culprits, leaving your oven stone looking less than appetizing. Deep cleaning these essential baking tools can feel like a daunting task, often involving hours of scrubbing and soaking. But what if there was a quicker, easier method? Forget the harsh chemicals and back-breaking effort; we're about to reveal a surprisingly simple technique that will have your oven stone sparkling clean in a fraction of the time.
This article outlines a fast and efficient deep-cleaning method specifically designed for oven stones, minimizing effort and maximizing results. Forget the endless scrubbing – we'll guide you through a process that harnesses the power of readily available household ingredients and clever techniques to restore your oven stone to its former glory. Let's get started with our step-by-step guide to achieving a sparkling clean oven stone, ready for your next culinary masterpiece.
Preparation and Safety Guidelines
- Oven cleaner
- Scraper
- Wet rag
- Brush
- Brill pad (optional)
- Always allow oven stones to cool completely before cleaning. Hot stones can crack or shatter if exposed to cold water or harsh temperature changes.
- Avoid using abrasive cleaners or scouring pads on oven stones, as these can scratch the surface and damage the stone's porosity.
- Never put oven stones in the dishwasher. The high heat and harsh detergents can damage or discolor the stone.
Step-by-Step Instructions
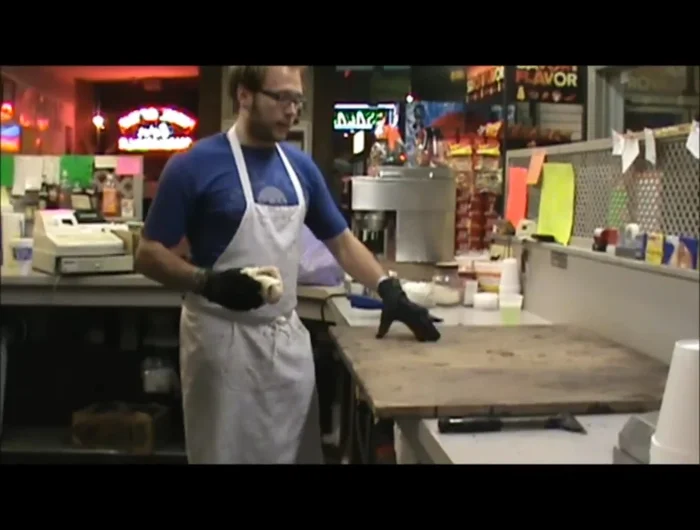
Remove Oven Stones
- Remove oven stones.

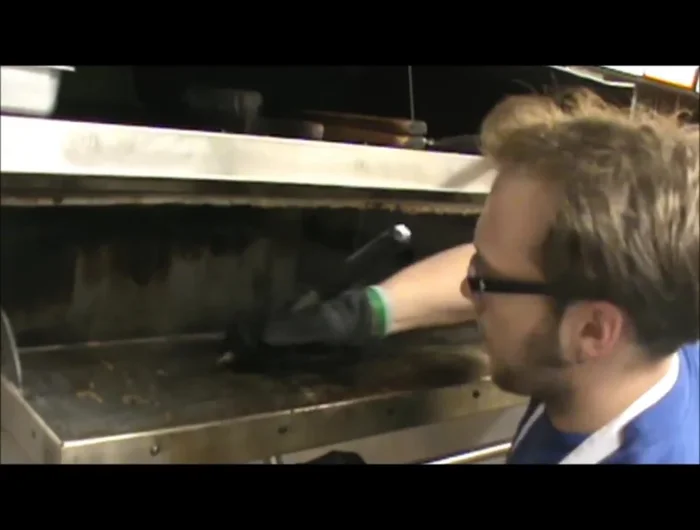
Remove Oven Stones Initial Cleaning: Top Side
- Apply oven cleaner and let it soak.
- Scrape off the loosened debris using a scraper.
- Wipe down with a wet rag to remove any remaining residue.
- Repeat steps 3 and 4 for both sides of the stone, focusing on heavier grime.
Initial Cleaning: Top Side Clean Exterior Surfaces
- Clean the exterior surfaces of the oven stone using the same technique (oven cleaner, scraper, wet rag).
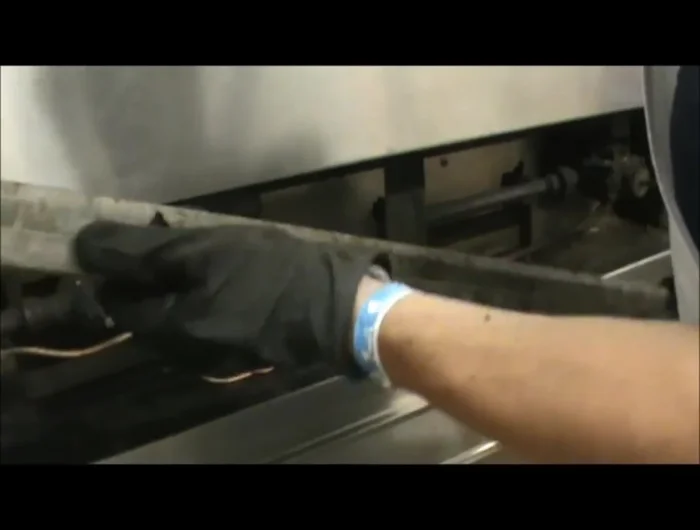
Clean Exterior Surfaces Clean Oven Interior
- Clean the oven racks and any other areas where debris collects.
Clean Oven Interior


Read more: Mastering the Uuni Koda 16 Pizza Oven: A Step-by-Step Guide to Perfect Pizza
Tips
- For stubborn grime, wetting the area before scraping helps loosen and swell the debris, making it easier to remove.
- A scraper is more efficient than a sponge or Brill pad for removing baked-on grime.
- Start with a dry brush to remove loose, flaky debris before using a wet rag.