
Forget overpriced pizza deliveries and underwhelming takeout! Imagine the aroma of freshly baked, wood-fired pizza wafting through your backyard, the taste of perfectly charred crust and bubbling mozzarella – all created by you. Building your own portable wood-fired pizza oven is easier than you think, transforming ordinary gatherings into unforgettable pizza parties. This project is perfect for the ambitious home chef or anyone yearning for the authentic taste of a Neapolitan pizza experience without the hefty price tag of a professional oven. You'll be amazed at how satisfying it is to craft something delicious and functional from scratch.
This guide provides a comprehensive, step-by-step process for constructing your very own portable wood-fired pizza oven, complete with detailed instructions, helpful tips, and stunning visuals to guide you through each stage of the build. Get ready to roll up your sleeves, embrace the creative process, and prepare to become the ultimate pizzaiolo in your neighborhood!
Preparation and Safety Guidelines
- Bowls
- Flower greenhouse dome (12x12 inches)
- Scrap particle board
- Jigsaw
- Thick gauge wire
- Foam board
- Hot glue
- Sand concrete mix
- Quarter inch plywood
- Refractory cement
- Oscillating sander
- Cardboard
- Tile saw
- Mortar
- Thin concrete bricks
- Tin jar
- Portland cement
- Perlite
- Grinder with cut-off wheel
- High heat barbecue paint
- Barbecue brush
- Construction adhesive caulk
- Sheet metal (or similar)
- Screwdriver
- Box cutter
- 3/8 inch drill bit
- Doorknob
- Always use heat-resistant gloves and wear protective clothing when operating the oven. High temperatures pose serious burn risks.
- Ensure adequate ventilation to prevent carbon monoxide buildup. Never use the oven in an enclosed space without proper airflow.
- Place the oven on a stable, non-flammable surface, far away from any combustible materials like dry grass or overhanging branches.
Step-by-Step Instructions
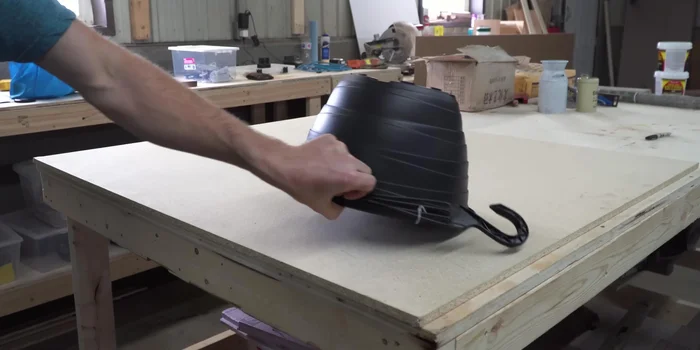
Create the Oven's Interior Mold
- Create the interior mold using bowls.

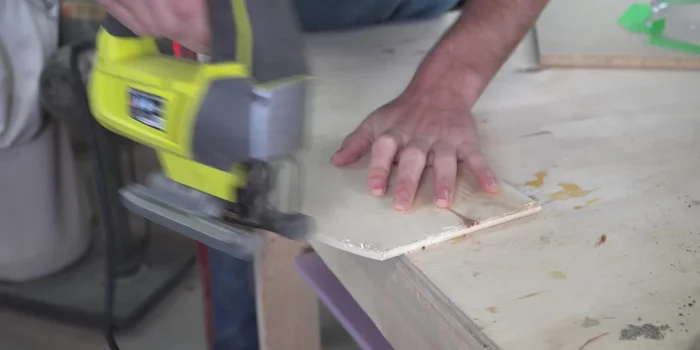
Create the Oven's Interior Mold Build the Oven Base
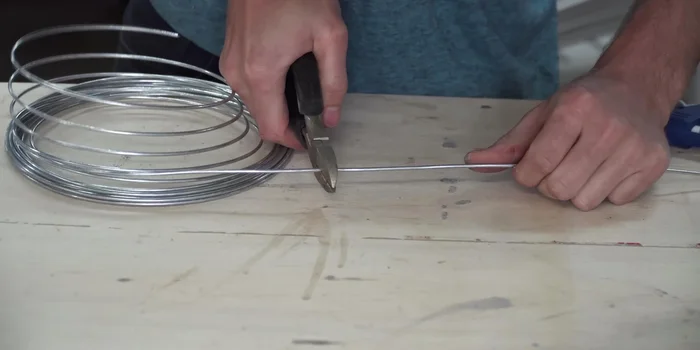
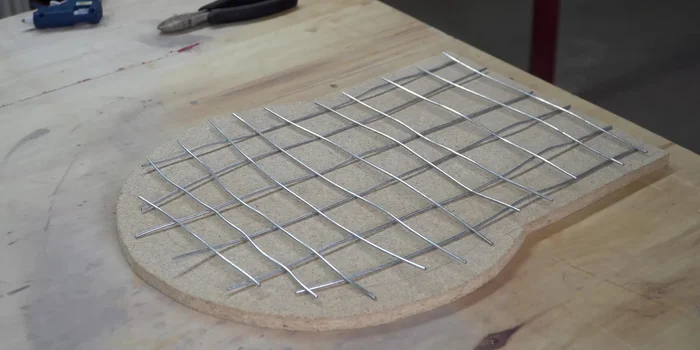
- Use a dollar store greenhouse dome as a template to trace and cut out the oven's base.
- Create reinforcement for the concrete slab with wire.
- Build walls around the base using foam board and hot glue.
- Pour the concrete slab, adding reinforcement bars, and vibrate the mold to release air bubbles.
Build the Oven Base Construct the Oven Body Mold
- Create the archway mold using cardboard templates and wood.
Construct the Oven Body Mold Create and Assemble the Oven Body
- Construct the outer walls using foam board and hot glue, incorporating the smoke stack.
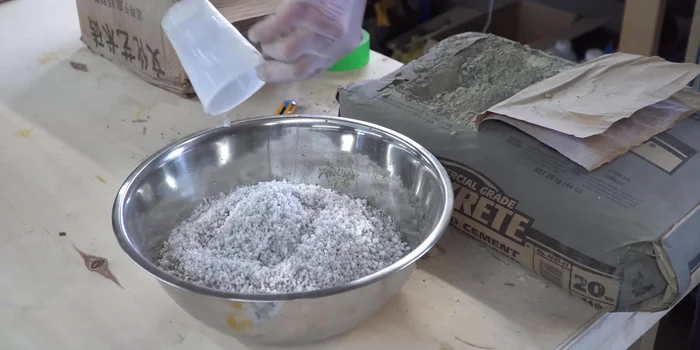
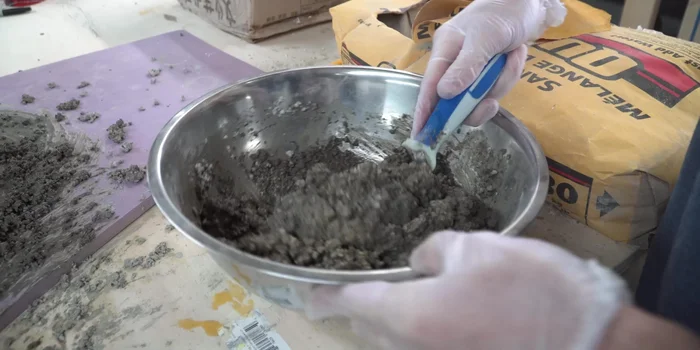
- Pour the first layer of insulating concrete mix (1 part cement to 5 parts perlite).
- Pour the second layer of a stronger concrete mix (sand concrete mix with perlite).
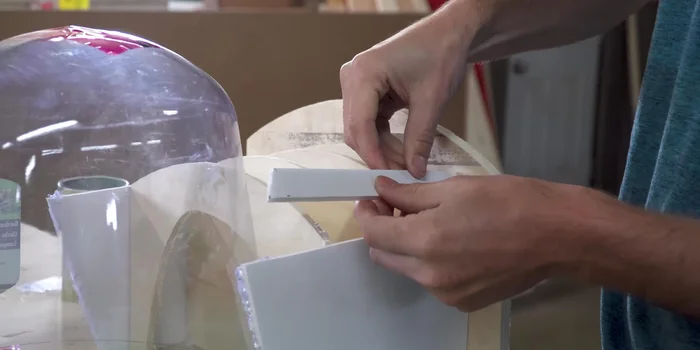
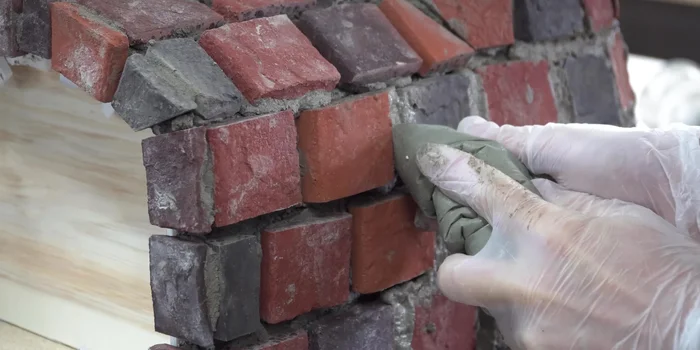
- Cut and mortar thin concrete bricks onto the oven.
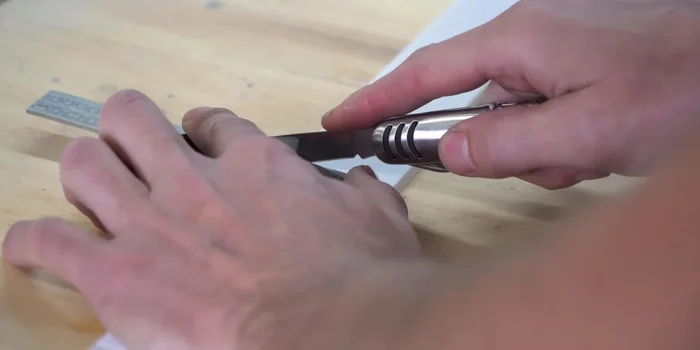
Create and Assemble the Oven Body Prepare and Attach the Smoke Stack
- remove paint, cut the end, and paint with high-heat paint.
Prepare and Attach the Smoke Stack Finish the Exterior and Interior
- Fill gaps between bricks with mortar, smoothing the surface.
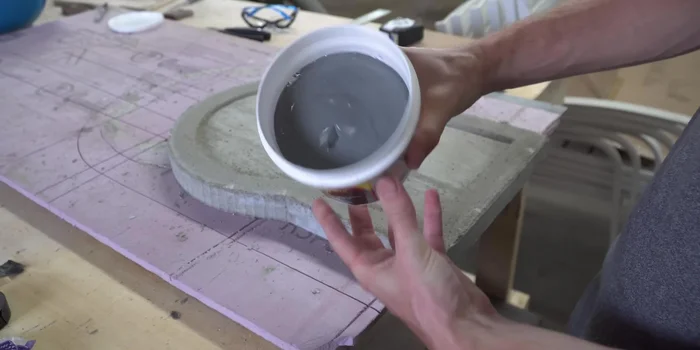
- Remove the base slab from the mold and fill the indent with refractory cement.
- Remove the oven body from its mold and apply a layer of refractory cement to the interior.
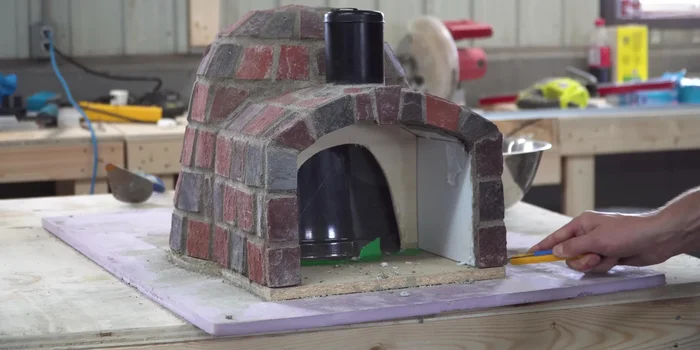
Finish the Exterior and Interior Build and Attach the Base and Door
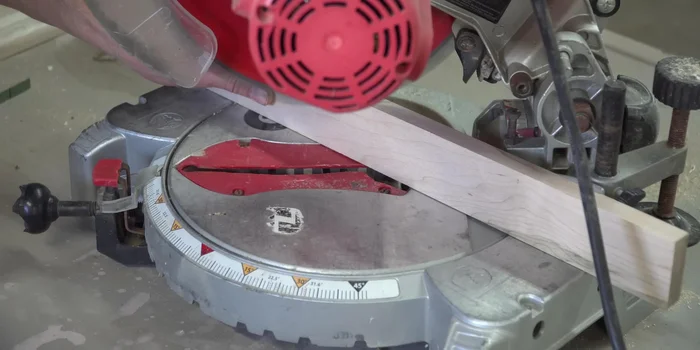
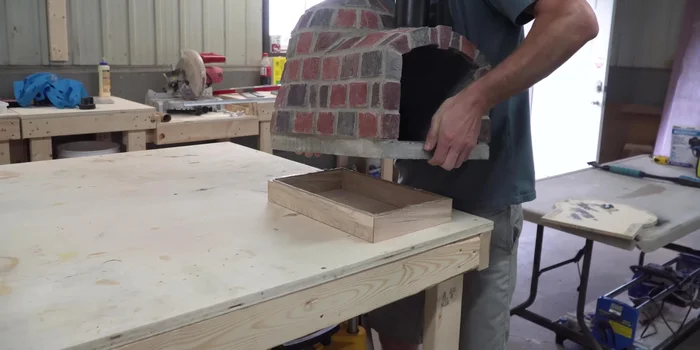
- Build a wooden base to raise the oven.
- Create a metal door with air holes and attach it to the oven.
- Attach the wooden base to the oven.
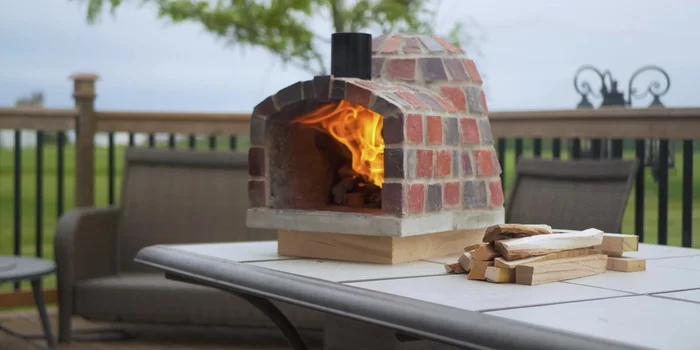
Build and Attach the Base and Door Cook the Pizza
- Light the oven and cook pizza.
Cook the Pizza


Read more: Mastering the Uuni Koda 16 Pizza Oven: A Step-by-Step Guide to Perfect Pizza
Tips
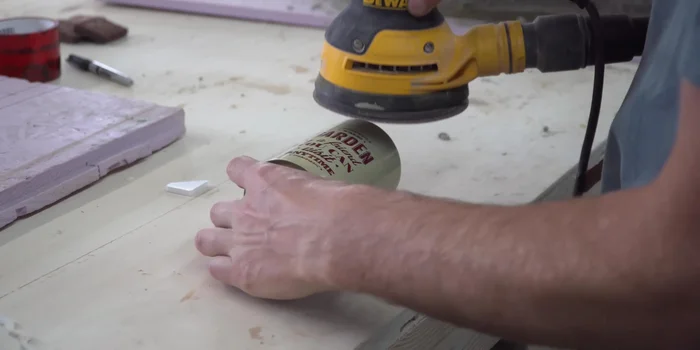
- Use an oscillating sander to remove air bubbles from the concrete.
- Clean mortar stains within an hour of application.
- Adding water to refractory cement makes it more workable.